
Checklist: 10 Form Cues for a Safer Deadlift
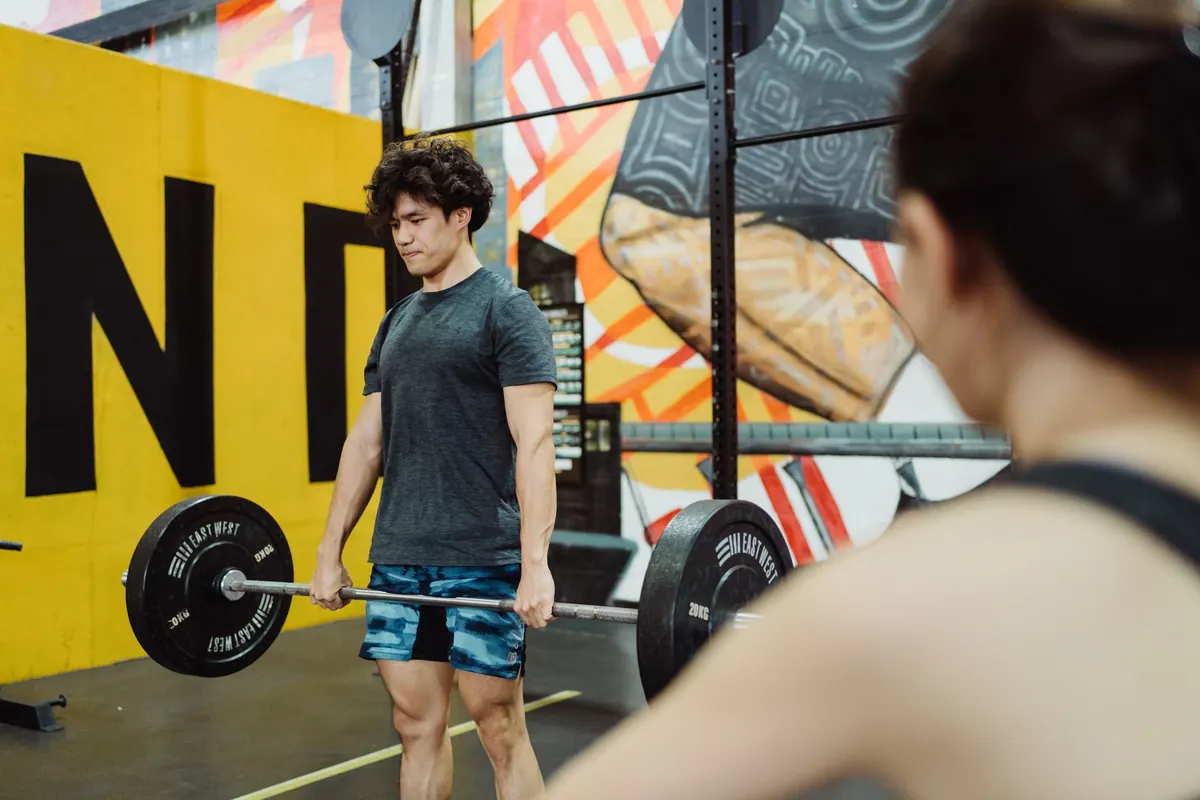
Most deadlift injuries don't arrive in one dramatic moment. They build up over dozens of reps where the bar drifted an inch forward, the hips shot up before the chest, or the lower back rounded just enough to matter. Nothing felt catastrophic. Nothing even felt wrong. Then one day a warm-up set that used to be easy feels like a fight.
The fix is rarely more effort. It's better positions, repeated until they become automatic. What follows is a checklist of ten cues worth running through on every working set — not as a mantra you chant before the bar, but as a set of checkpoints you can scan in the two seconds between grabbing the bar and pulling.
Why Simple Cues Beat Big Cues
Long instructions fall apart under load. If you're thinking about five things at once as you break the bar off the floor, you're thinking instead of lifting. Short cues work because they're fast to recall and easy to feel. "Push the floor away" is usable at 85 percent of your max. "Maintain a neutral lumbar spine while progressively extending the hips and knees" is not.
So pick one or two cues per session. Rotate them. The point is to build a habit, not to recite a manual.
The 10-Point Deadlift Checklist
- Bar over midfoot. Stand with the bar about an inch from your shins. From the side, the bar should sit roughly over the middle of your foot — not over your toes, not against your shins. When you look down, you should see the bar cutting across the middle of your shoe.
- Hinge, don't squat. Push your hips back first and let your knees bend as a result. If your knees bend first, the bar drifts forward and your back ends up doing the work your hamstrings should be doing.
- Take the slack out before you pull. Grip the bar and pull gently upward until you feel the plates load against the sleeves and the bar stops moving. That small tension removes the jerk that snaps your spine out of position on rep one.
- Set your lats. Think about squeezing your armpits shut, or bending the bar around your shins. Locked lats keep the bar close and hold your upper back in place.
- Brace like someone's about to poke you. Take a breath into your belly, not your chest, and tighten your midsection. A hard brace is a free layer of protection.
- Push the floor away. Rather than yanking the bar off the ground, drive your feet down. This keeps your legs in the lift and stops your back from starting the pull alone.
- Drag the bar up your legs. Keep it in contact with your thighs and shins the whole way. Every inch the bar travels forward adds leverage your lower back has to fight.
- Hips and shoulders rise together. If your hips shoot up first, your torso tips forward and the lift becomes a stiff-leg pull. If your shoulders rise first, the bar swings out.
- Finish with glutes, ribs down. Stand tall by squeezing your glutes and bringing your hips forward. Don't lean back or arch your lower back at the top — that's not a stronger lockout, just an irritated spine.
- Lower it like you meant to. Reverse the setup: hinge your hips back, guide the bar down the legs, and stay in control. Slamming the bar down with a rounded back is still a loaded spine position, whether or not you're pulling.
Three Breakdowns You'll See on Video
The bar drifts forward
Usually the setup, not the pull. If the bar starts too far from your shins, your shoulders end up behind the bar, and the weight pulls you forward the instant it leaves the floor. Reset with the bar over midfoot and pull the slack out.
Hips shoot up early
This is often a starting-position issue: your hips are already too high, so they rise to where they want to be and your back finishes the lift. Lower your hips slightly at the start and focus on driving the floor away rather than yanking.
Lower back rounds at the bottom
Sometimes it's a brace problem, sometimes it's a load problem, and sometimes it's just your available range. If you can't hold a neutral spine at the bottom, raise the bar on blocks or plates until you can. Lifting from a height you control beats grinding from the floor in a position you can't hold.
How to Use This Checklist in a Session
Don't run all ten cues through your head on a heavy single. Instead:
- Use two or three cues during your empty-bar and light warm-up sets, when you have brain space to feel positions.
- Film a set from the side at roughly hip height. Watch the bar path, not your face.
- Pick the one thing that's actually off, and make that your cue for the working sets.
- Re-check the checklist on your first set each week. Form drifts quietly.
One handy trick: pick a word. "Squeeze," "push," "close." A single word survives heavy weight far better than a sentence.
When to Stop and Get a Second Set of Eyes
If you feel sharp pain, numbness, tingling, or anything that feels like a joint rather than a muscle, stop the session. Discomfort that lingers past a day or two, or pain that shows up in daily life, deserves a conversation with a physiotherapist or doctor rather than another set. Persistent lower back pain during deadlifts is not something to train through and hope resolves itself.
It's also worth hiring a coach for a session or two if your deadlift feels inconsistent. Watching yourself on video helps, but a trained eye catches things a phone camera won't, and a small setup correction can save months of frustration.
Boring Reps Build Strong Backs
The deadlift rewards repetition of good positions far more than it rewards intensity. Ten clean reps at a weight you can control will do more for your strength and your back than one ugly personal best that leaves you guessing for a week.
Run the checklist on your next session. Keep it short, keep it honest, and let the boring reps stack up.
Photo: Ketut Subiyanto / Pexels