
How to Build a 4-Week Beginner Strength Routine at Home
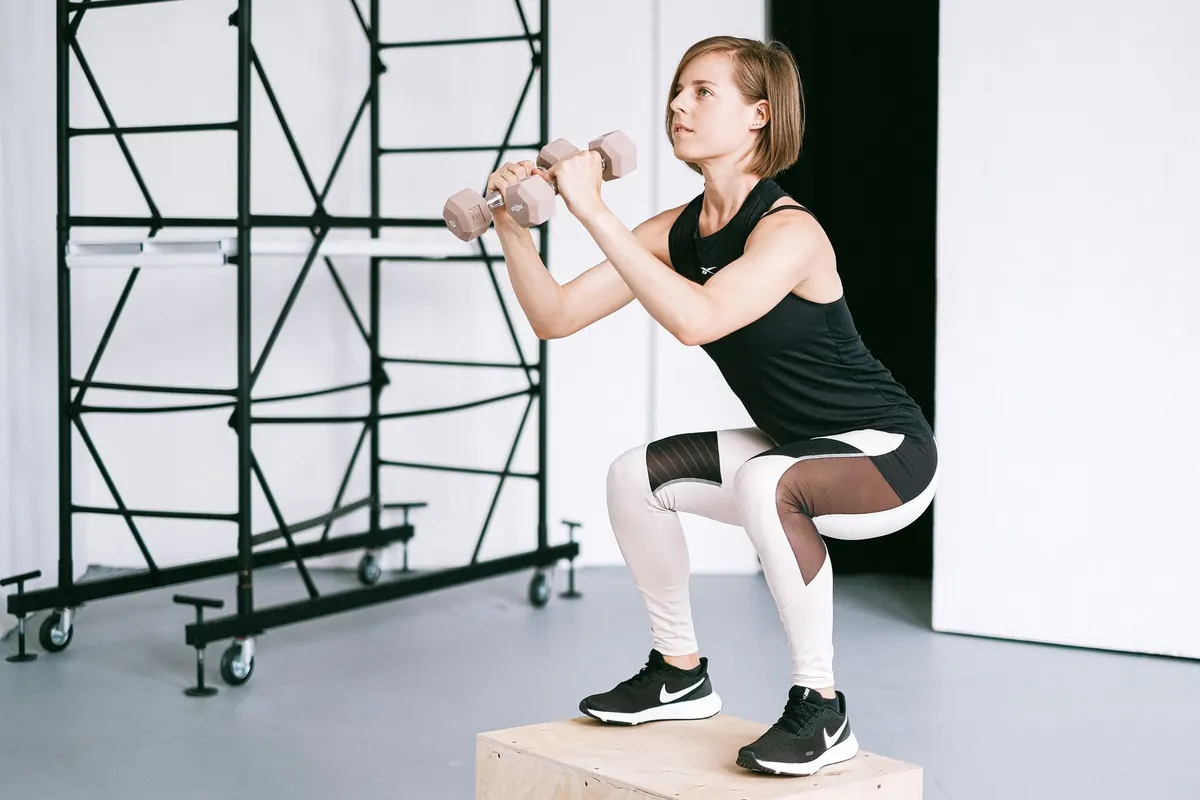
Building strength at home sounds like it should require a rack, a bench, and a wall of iron. It doesn't. Four weeks of consistent work with a handful of movements, a chair, and maybe a pair of dumbbells or a resistance band is enough to change how you move and how easily you handle everyday tasks. The plan below is deliberately simple: three sessions a week, about thirty minutes each, built around four movements you can scale up or down as needed.
What You Need Before Week One
You do not need a home gym. You need a clear patch of floor and a few cheap or already-owned items:
- A patch of floor roughly the size of a yoga mat
- A sturdy chair or low bench for split squats and incline push-ups
- A backpack loaded with books or water bottles if you have no weights
- A pair of dumbbells (5 to 15 pounds is plenty to start) or one long resistance band
- A notebook or phone note to record what you did
That last item matters more than most beginners expect. Strength comes from doing slightly more over time, and you cannot do slightly more if you don't remember what last time looked like. Note the exercise, the variation, the sets, the reps, and how hard it felt.
How the Four Weeks Are Structured
Train three days a week with a rest day between sessions. Monday, Wednesday, and Friday works well; so does Tuesday, Thursday, and Saturday. Each session runs 25 to 35 minutes and follows the same shape:
- Five minutes of warm-up — arm circles, hip circles, slow bodyweight squats, marching in place
- Four movements: a squat, a hinge, a push, and a pull
- Two to three sets of each, resting 60 to 90 seconds between sets
- Two minutes of easy stretching or slow breathing at the end
Keep repetitions in the 8 to 12 range and stop each set two or three reps short of failure. In week one especially, you should finish a set thinking you could have done more. That restraint is what lets you show up again on Wednesday.
The Four Movements That Cover Everything
Every session uses the same four patterns. Only the variation changes.
Squat
Start with a bodyweight squat to a chair, sitting down lightly and standing back up. Progress to a full bodyweight squat, then to a split squat, then to a rear-foot-elevated split squat with your back foot on the chair. Eight to twelve controlled reps per leg.
Hinge
Glute bridges come first: lie on your back, feet flat, and press your hips up until your body forms a straight line from knees to shoulders. Move to single-leg bridges, then to Romanian deadlifts holding dumbbells or a loaded backpack, pushing your hips back with a flat back.
Push
Push-ups have more rungs than people realize. Start with hands on a kitchen counter, move to hands on a chair, then to knees on the floor, then to a full push-up. If full push-ups are still out of reach by week four, that is normal. Keep adding reps on the hardest incline you can control.
Pull
Rows balance all that pushing. Loop a resistance band around a sturdy post at chest height and pull the handles toward your ribs, squeezing your shoulder blades together. With dumbbells, hinge forward and row one arm at a time.
Week-by-Week Progression
- Week 1: Two sets of 8 reps per movement, using the easiest variation you can do with clean form.
- Week 2: Three sets of 8 to 10 reps, same variations. The extra set is the whole progression this week.
- Week 3: Three sets of 10 to 12 reps. Lower for three slow seconds on every rep. If a set feels easy, move to the next harder variation.
- Week 4: Three sets of 10 to 12 reps using the hardest variation you can control. On the last session, write down every number.
Adjust up or down as your body tells you. If you finish session three feeling wrecked, hold at two sets for another week instead of pushing into week two's volume. A plan you can repeat beats a plan that buries you.
How to Make It Harder Without Buying Anything
- Slow the lowering phase to three or four seconds
- Pause for two seconds at the hardest point of the movement
- Increase your range of motion — squat lower, push the hips higher
- Switch to a single-leg or single-arm version
- Shorten rest to 45 seconds between sets
- Add a set, or add reps within the 8 to 12 range
- Load the backpack with more books
Pick one change at a time. Changing three things at once makes it impossible to tell what worked.
Warm Up, Recover, and Know Your Limits
Five minutes of easy movement before each session gets your joints ready for work. Afterward, walk for a few minutes and stretch whatever feels tight. Soreness that appears a day or two later and fades within 72 hours is normal. Sharp pain during a movement, joint pain that lingers, or anything that feels wrong is a signal to stop and get it checked.
Sleep and food do more for your strength than any exercise variation, so aim for consistent sleep and enough protein across the day. If you are returning after a long break, are pregnant, or are managing an injury or a health condition, speak to a doctor or physiotherapist before starting — they can tell you which variations to modify.
What to Do After Week Four
Take your week-four numbers and run the same four weeks again, starting at the harder variation you finished on. Beginners often see the biggest jumps in months two and three, simply because the movements stop feeling strange. After two or three cycles, add a pair of heavier dumbbells or a couple of bands and keep going.
And if you miss a session, don't rework the whole plan. Do the next one. Consistency across months is what builds strength; a perfect week here and there is not.
Photo: Anna Shvets / Pexels